Chuẩn bị dụng cụ đầy đủ, tua-vit các loại, bông, PR7, kẹp

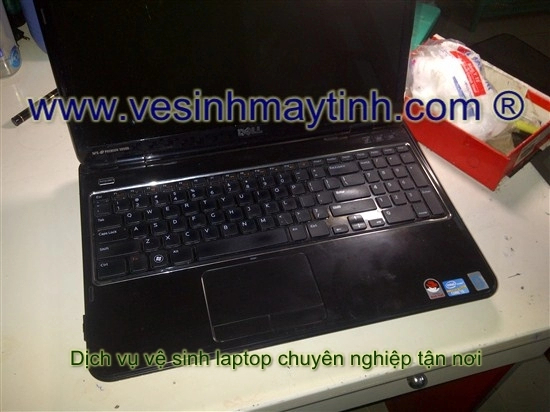
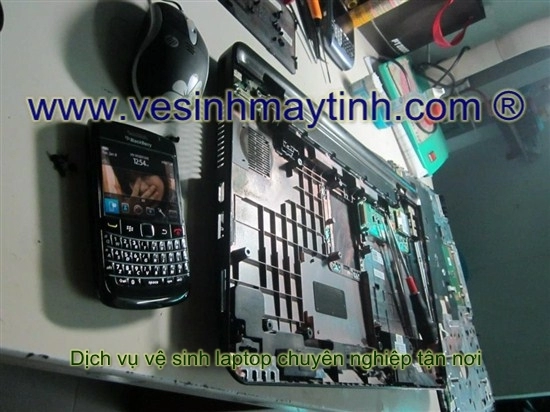
Bệnh nhân đưa lên bàn mổ là laptop Dell Inspison - core i5 - ram 8Gb

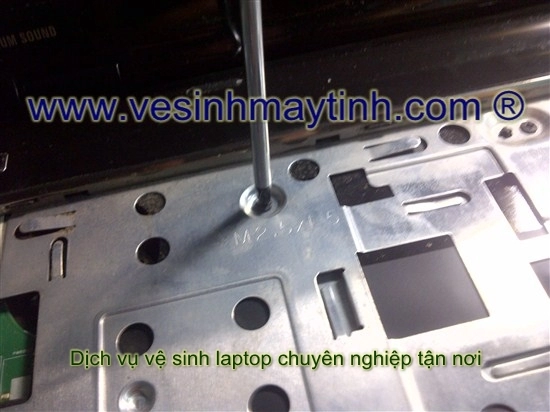
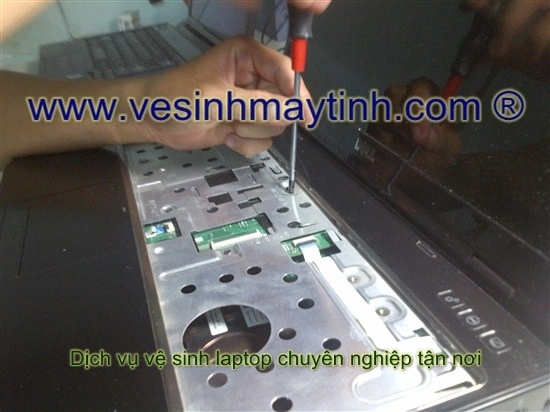
Đầu tiên ta tháo tất cả ốc ở mặt dưới, cái này ai làm cũng được nên không cần nhắc tới.
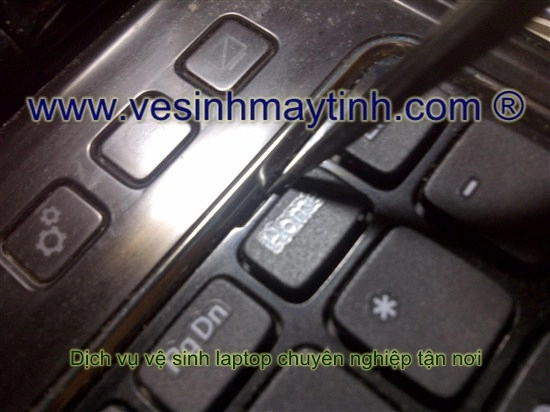
Dùng nhíp nhọn đẩy khóa ở trên bàn phím rồi nhấc bàn phím lên
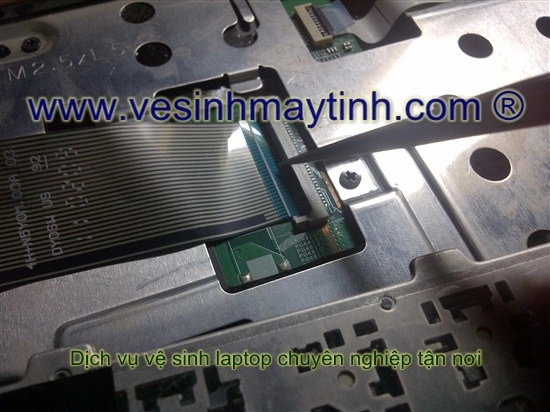
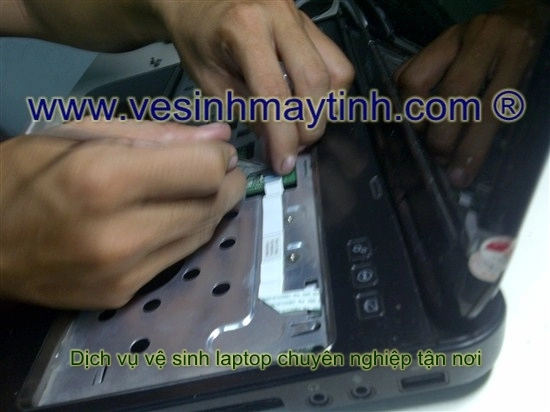
Gỡ dây nối bàn phím laptop với máy
Tháo hết các ốc dưới bàn phím
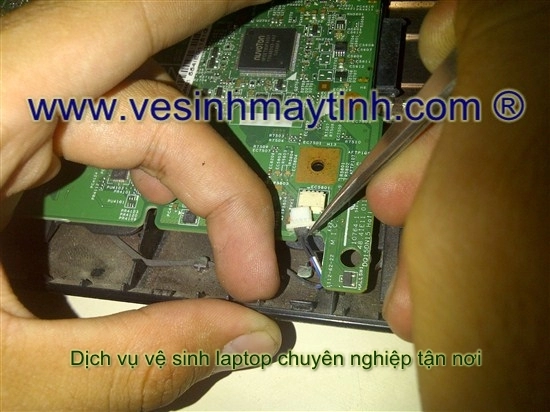
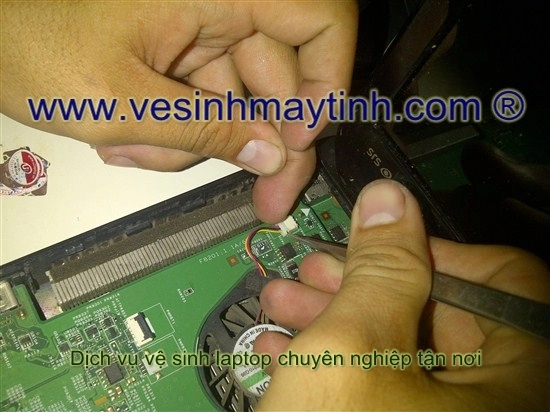
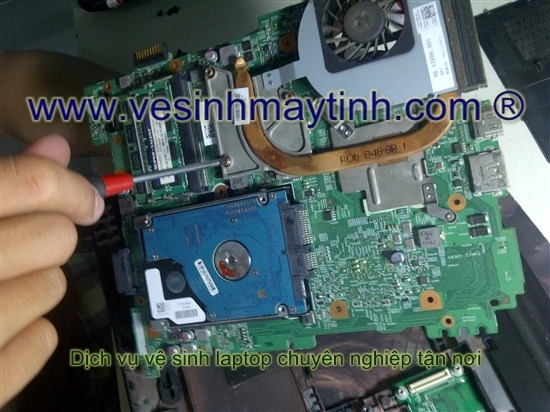
Gỡ cẩn thận các dây nối với main
Dùng nhíp nhọn cẩn thận nảy nhẹ 2 lớp vỏ, chú ý nhẹ tay tránh trầy xước, kiểm tra kĩ trước khi nạy lên,phải tháo hết tất cả ốc 2 mặt

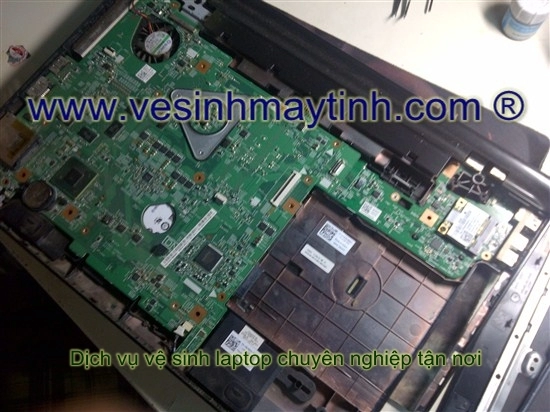
Tháo ốc trên main laptop ra
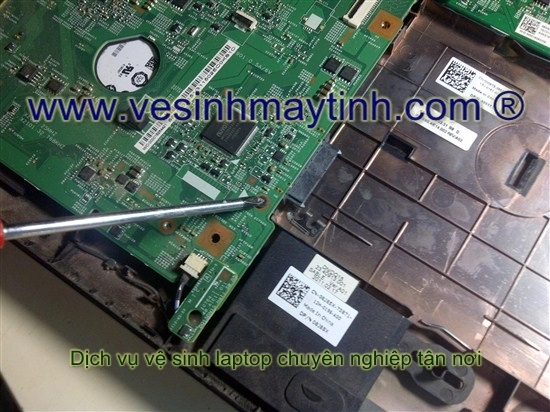
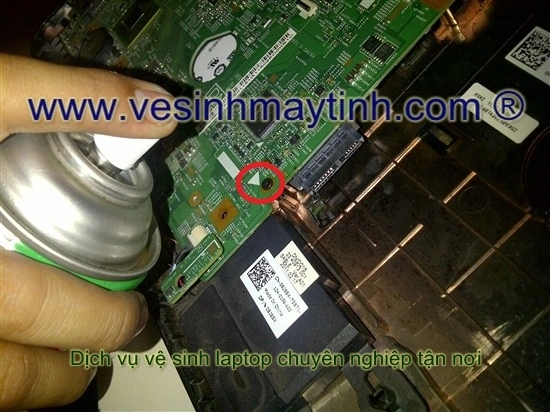
Nếu cảm thấy ốc cứng quá, xịt 1 tí RP7 đợi vài phút sẽ mở dễ dàng, chỉ tháo những con ốc có hình tam giác màu trắng bên cạnh thôi nhé !

Tháo các dây nối từ bên ngoài vào main
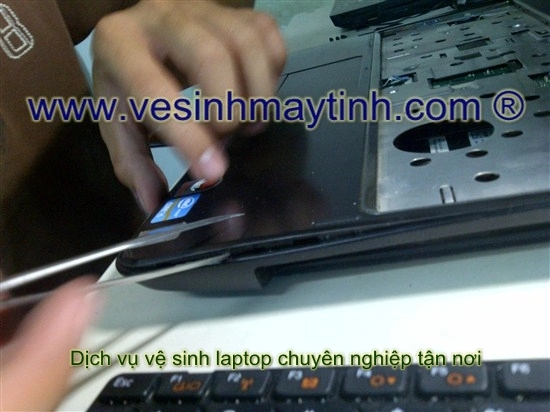
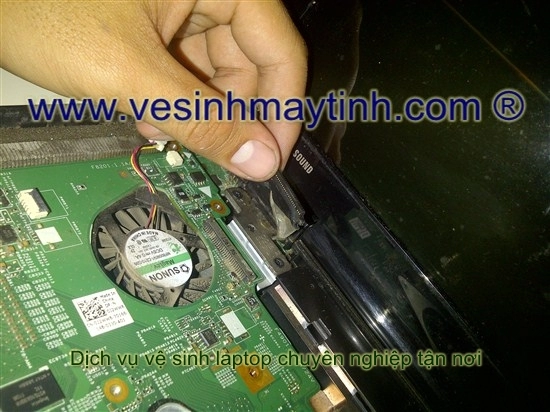
Gỡ dây cáp từ màn hình vào main, một tay giữ màn hình, 1 tay mở ốc màn hình
Lấy màn hình ra nhẹ nhành
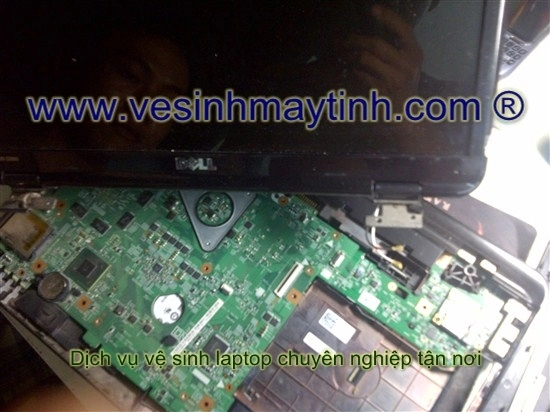
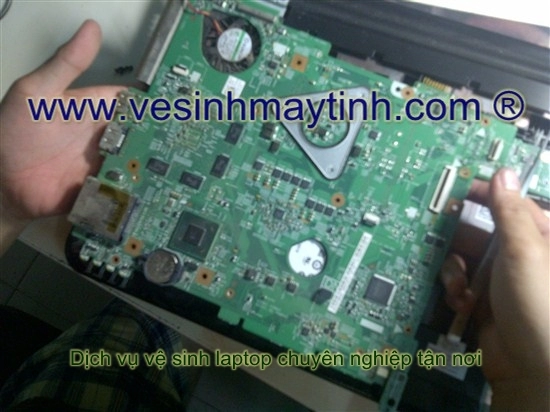
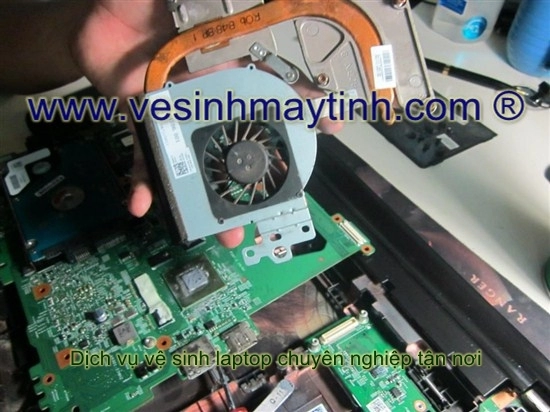
Lấy main ra nhẹ nhàng
Tháo mấy con vít ra cẩn thận nhé
")
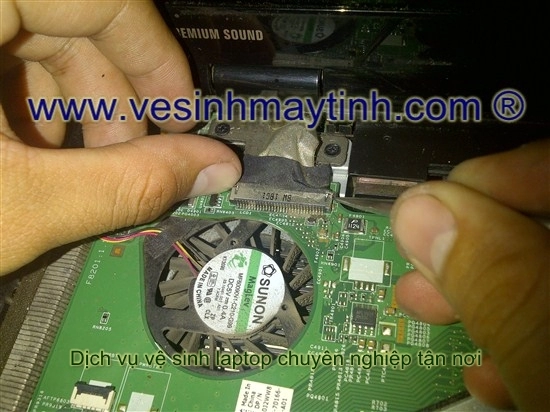
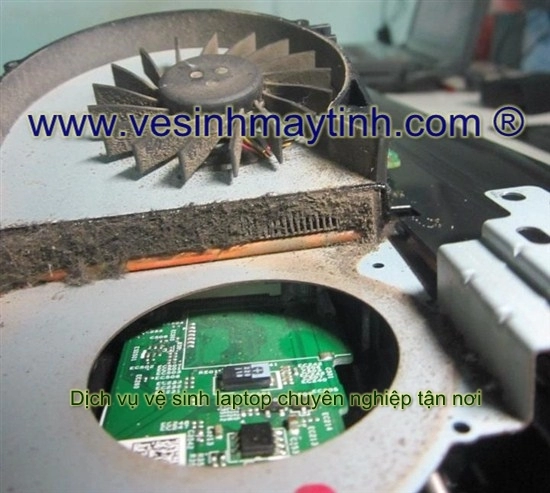
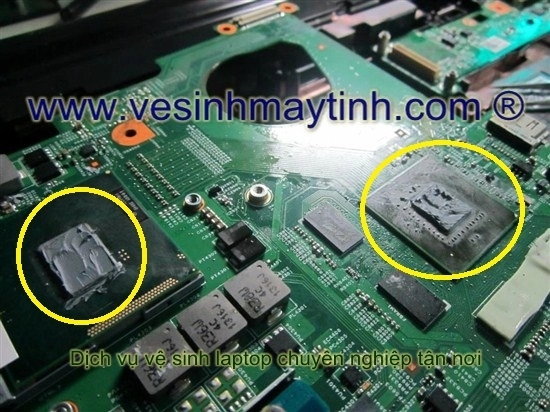
Ồ bẩn quá, hèn chi nóng là phải
Bôi keo tản nhiệt cho cả 2 nhé, mỏng thôi
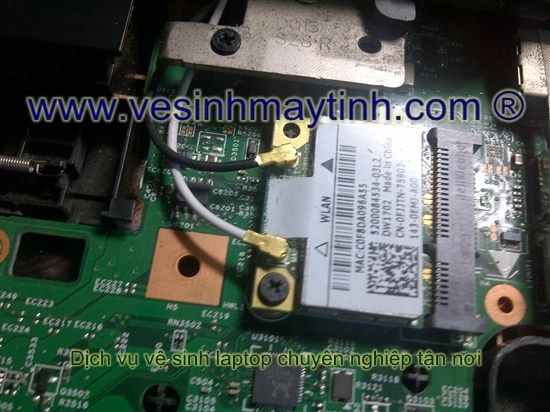
Thế là xong, vệ sinh quạt sạch sẽ, bôi keo, lau chùi main sạch bụi, vỏ máy bên trong rồi lắp lại, nhớ gắn dây ăn-ten vào card wifi nhé
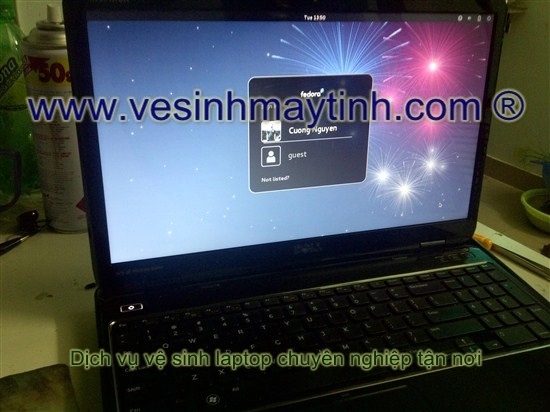
khởi động lên thử nào
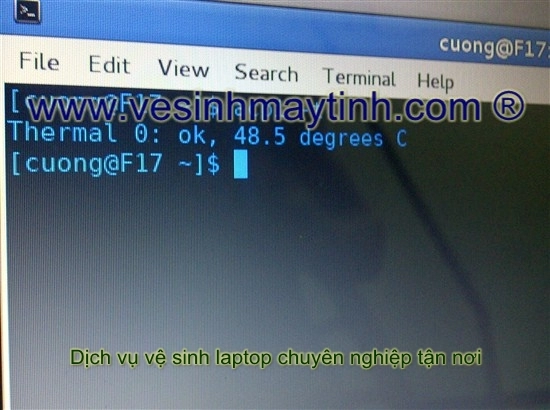
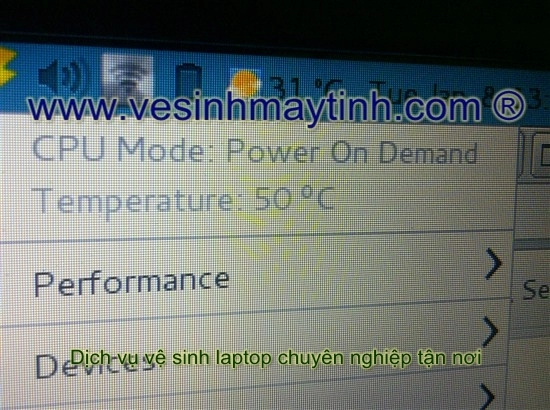
Woaaaaaaaaa !!!!!!!!! 48độ, khá là mát nha
Ghi rõ nguồn khi sử dụng nội dung từ vesinhmaytinh.com
Nguồn thông tin được HOCHOIMOINGAY.com sưu tầm từ Internet